I can see your point. At first sight – it looks childish. Far away from engineering. If you look closer, you will find out that it brings a lot of joy to a kid. Joy and curiosity are perfect ingredients to expose the little ones to technology.
Andreas Walbert
During Robotics Week 2021 I had the pleasure to introduce (industrial) robotics to 3rd graders at my child’s primary school. Nearly all kids already had a clear idea of what a robot should be or look like (you are right if you assume they wanted to have either a homework robot or one which can tidy up their room, but they also had ideas of robots supporting the elderly or sick people or humans with disabilities).
After my presentation my junior asked me “Daddy, can you show me how to build a robot, please?” I was not able to answer this request right away. I first had to think about it for a while and I promised to do some research. Easy way would have been to buy any “STEM KIT” or to get into Lego Mindstorms, especially as we do have a lot of bricks laying around – literally!
I thought this would be the ideal moment to introducing him to engineering. But what does it really take to build a robot? Or how would you approach such a topic for a 3rd grader? At the end it all comes down to mechanical engineering, electronics and coding. In Germany we have the expression of “mechatronics” for that. You can even get a degree in mechatronics at university.
The easiest part of these three disciplines to get started for a kid is coding. So, I started introducing him to Scratch, which comes in handy as he simply loves computers, tablets and smart phones in a – uh… pathologic way. I first had the weird idea that introducing him to coding could somehow draw his attention away from other things he loves to do on these devices. I can tell you that at least this plan doesn’t work – it’s more like some additional activity, but I will concentrate on the coding story in another post.

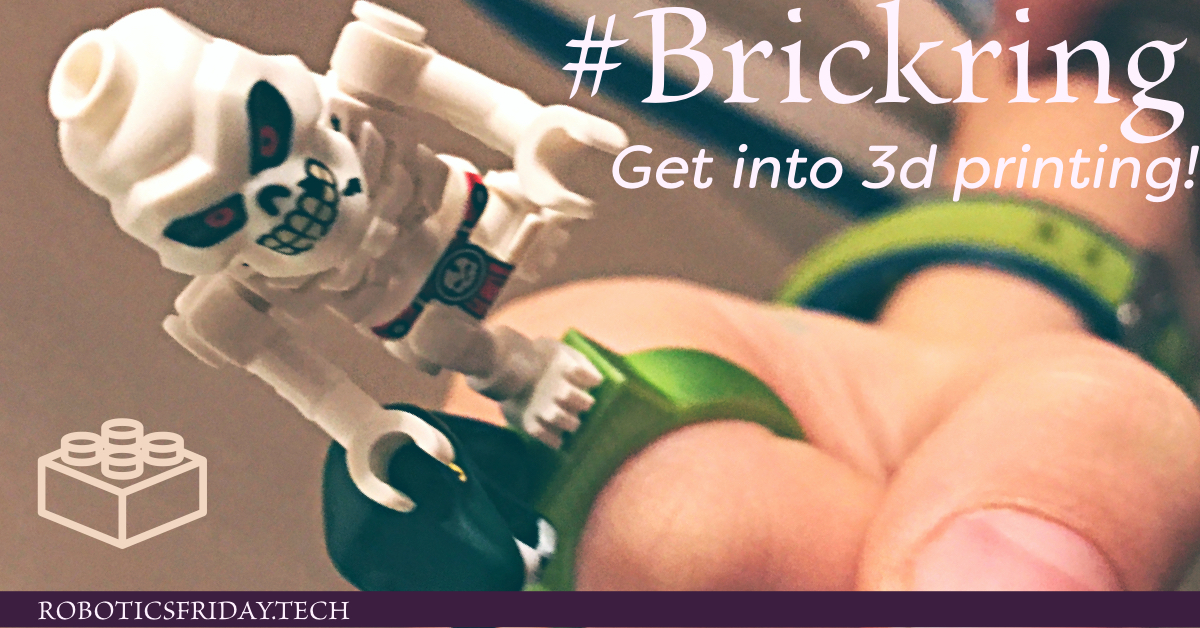
The hardest part to approach maybe not for everyone but at least for my kids is electronics. I decided to go for an Arduino, but this is again a different story. Today I want to focus on the mechanical aspect of mechatronics. I thought it would be a good idea to get into 3d printing. For several reasons.
Printing toys or spare parts for your kids
First, it motivates kids a lot if they can search for some – let’s call it – toy “enhancements”. You can start printing additional elements for toys you cannot buy, but which are available on platforms like prusaprinters. I let them choose the colors I purchase, and our printer helped us already to replace parts of old sets from my childhood which went missing or which broke in action. Also, it’s good practice to check if there are some add-ons available designed from other fans. Please note: the target here is to print things which are not available for purchasing! In these first steps kids also can learn something about sharing, as such platforms live from makers sharing their design, which is by the way the backbone of the whole maker scene.
Having the possibility to make something
Second aspect is the possibility to really make something for a robot, for example a chassis for a little rover. One of the first parts I designed was an enhanced replacement part of the connector of my daughter’s bicycle basket. For any further project a 3D printer is a great tool. Of course, you can always use cardboard for building some fundamental projects or use some bricks or other existing items from your household. But a 3d printer is for sure a great addition to your toolset.
In order to be able to create your own models, you need to get into CAD design. There are many tools available. However, I do believe the biggest step – if you have never designed anything before – is to get an idea about how to approach building a technical part. I worked with several CAD systems earlier in my career and I can tell, once you understand the approach, it doesn’t really matter which tool you end up using… maybe besides CATIA – but let’s not concentrate on 3D freeform surfaces from the beginning, right?
As a private person with no commercial interest, I strongly recommend going for open-source solutions. I am using FreeCAD which allows you to build up your models in a fully parametric way. I will go into more detail about this process in another post if you are interested in why and how I am working with FreeCAD.
Get to know the process chain
The third aspect is the process chain as such. Assuming you created your first model, or you downloaded it: how is it supposed to get into your 3d printer? Basically, your 3d printer is just something like a router: a small 3-axis-CNC machine. That means, your 3D model needs to be translated somehow into G-Code, as this is exactly what your machine understands.
G-Code is a standardized “procedural programming language” for machine tools, which tells the axes where to go. You need some tool which creates such a program out of your 3D model. Of course, you could program it manually by simply using a text editor but for complex shapes this would probably keep you busy for the next months, if not years. Luckily, there is CAM solutions available for 3d printers. Either proprietary solutions or, what I would suggest, open-source solutions. For 3D printers, such CAM programs are being called “slicers”, as they literally cut your models into slices, so that the 3d printer can build them up on the printing bed layer by layer. The result can then be exported as G-Code and loaded into your printer.
Perspective
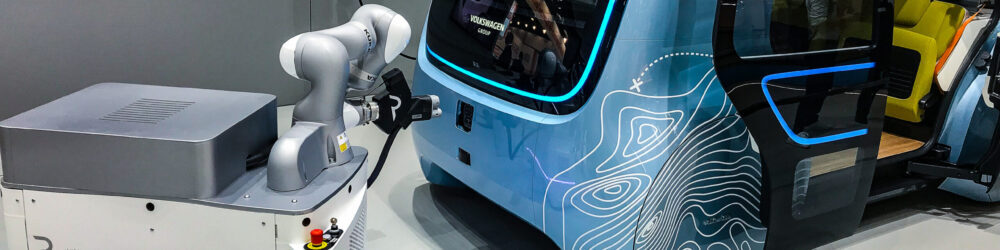
Getting into touch with 3d printing means that not only are you showing your kids basic technologies which are useful for all kinds of technical projects. 3D printing is one of the main trends in modern manufacturing and will for sure be growing. Today applications are manifold and applicable to all kinds of materials. The principal is always the same: layer by layer you are building up your model, may the material be plastics or metals, no matter if you are using powder or filament. The process can be made highly flexible if you combine it with robotics. The following example shows, why 3D printing might be the next big thing when we are talking about construction.
Experience / Next Steps
After 10 months of owning my own 3dprinter (as per January 2022), I can tell you that it is a good investment which can inspire your kids and get them into contact with some of the complexity which is typical for engineering or science related jobs. My idea was to do this in a playful way and to do it step by step. Purchasing any robotics kit might have been tempting in the beginning, but I do believe this open approach gives you a lot room for growth.
The learning curve is steeper, but the possibilities are endless. You can use your skills for all kinds of weekend projects. But you must be aware that you can easily go overboard and start soldering by yourself or even try deploying some neural networks right from the beginning. My advice here is to approach robotics in a more Japanese “KAIZEN” way: be persistent and improve your skills in small steps. Pick a simple project, do it, choose the next one. Do it. The aim is not to be perfect before you do anything. Today this approach is being called “agile”, so it can’t be wrong.
Some Inspiration
I got to share some history of myself with you – if you promise not to laugh at me because of my haircut! The picture below shows my classmate and me with a school project we did in our last year (must have been in 1992!) at “Technical Senior High School”, or – how we call it – Technisches Gymnasium.

Another classmate of our group is not in the picture but what you see is basically a small CNC router. At that time, we designed it completely on paper, build the parts, sourced some ball-screws from the company of my fathers’s friend and built up the microprocessor to handle three stepper motors plus a spindle. Taking care about the processor is what the smart guy next to me in the picture did.
This was long before Arduino and all the free knowledge on the internet was available and I was not an Assembler guru, anyways. So I was pretty glad he didn’t ask for help. While the third mate concentrated on the metal parts (including the ones built from aluminum), I took care about the CNC interpreter. I coded it in Pascal (very hip at that time). It translated G-Code into some RS232 protocol and so we could send small programs to the processor. Today we would do a lot different, but at that time we learned a lot and I’d say it was a milestone which kept us going into engineering after school. I truly believe, we need to create such moments of success for our little ones in order to encourage them to enter the tech/science train.
Let me know in the comments below if becoming a maker sounds interesting for you in order to show your kids the beauty of STEM – or if you are already a maker I’ll appreciate to hear from your experience and the projects you did together with your kids.
Fun fact: after almost 30 years without any contact, I just recently got in touch with my classmate again via LinkedIn – and he still looks as handsome as on that picture.